Magic Move

react-native-magic-move
Create magical move transitions between scenes in react-native 🐰🎩✨
Usage
Installation
$ yarn add react-native-magic-move
Link the native extensions (* recommended but not required)
$ react-native link react-native-magic-move
* For the optimal performance, the native extensions are advised but not necessary. With expo or react-native-web, “react-native-magic-move” may now be used. Please refer to this manual for instructions on how to manually install the native extensions if you are experiencing difficulty with the installation.
Wrap your app with the <MagicMove.Provider> context.
import * as MagicMove from 'react-native-magic-move';const App = () => (<MagicMove.Provider>{...}</MagicMove.Provider>);
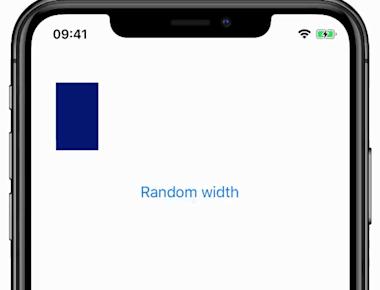
Add the <MagicMove.{View|Image|Text}> component to your views. Whenever the Magic Move component is mounted while another Magic Move component with the same id is already mounted, then a magic transition between the components is performed.
import * as MagicMove from 'react-native-magic-move';const Scene1 = () => (<MagicMove.Scene><MagicMove.View id="logo" style={{width: 100,height: 100,backgroundColor: "green",borderRadius: 50}} /></MagicMove.Scene>);const Scene2 = () => (<MagicMove.Scene><MagicMove.View id="logo" style={{width: 200,height: 200,backgroundColor: "purple",borderRadius: 0}} /></MagicMove.Scene>);
react-navigation
When you are using react-navigation (or react-native-router-flux), then also install the following binding:
Documentation
Components
The following magic-move components are supported out of the box.
MagicMove.ViewMagicMove.TextMagicMove.Image
You can also create your own custom MagicMove components.
const MyMagicMoveComponent = MagicMove.createMagicMoveComponent(MyComponent);// When creating a custom image component (e.g. FastImage) also specify the `image` attribute// so that the `move` transition treats this as an image.const MagicMoveFastImage = MagicMove.createMagicMoveComponent(FastImage, {ComponentType: 'image'});// Full signature/* MagicMove.createMagicMoveComponent(Component, {AnimatedComponent,ComponentType,...props});*/
Props
| Property | Type | Default | Description |
|---|---|---|---|
id | string | (required) | Unique id of the magic-move instance |
transition | function | MagicMove.Transition.move | Transition effect, see below |
duration | number | 400 | Length of the animation (milliseconds) |
delay | number | 0 | Amount of msec to wait before starting the animation |
easing | function | Easing.inOut(Easing.ease) | Easing function to define the curve |
disabled | bool | false | Disables transitions to this component |
zIndex | number | 0 | Z-index to control the drawing order of the rendered animation. A component with a greater z-index is always drawn in front of a component with a lower z-index. |
useNativeDriver | boolean | true | Use the native-driver |
debug | boolean | false | Enables debug-mode to analyze animations |
useNativeClone | boolean | Use this prop to disable native clone optimisations for this component (when applicable). | |
imageSizeHint | {width: number, height: number} | Optional size of the image that may be provided as a hint to the transition function |
Transitions
The following transition functions are available out of the box.
| Transition | Description |
|---|---|
MagicMove.Transition.move (default) | Moves the component while adjusting for border-radii and size. Takes the image resizeMode into account to create a seamless image transition without any stretching. |
MagicMove.Transition.morph | Morphs the shape, size and colours of the target to look like the source |
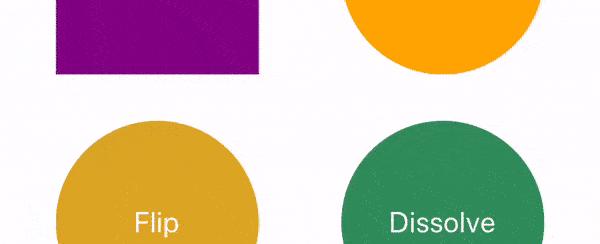
MagicMove.Transition.dissolve | Cross fade the source into the target |
MagicMove.Transition.flip | Flip the source to reveal the target on the backside (auto choose axis) |
MagicMove.Transition.flip.x | Flip the source to reveal the target on the backside (over x-axis) |
MagicMove.Transition.flip.y | Flip the source to reveal the target on the backside (over y-axis) |
MagicMove.Transition.flip.xy | Flip the source to reveal the target on the backside (over x- and y-axes) |
MagicMove.Transition.shrinkAndGrow | Shrink and let the source disappear while letting the target appear and grow |
MagicMove.Transition.squashAndStretch | Scale the target to the size of the source and squash and stretch to give it the illusion of momentum and mass |
You can also create your own transition functions, see src/transitions for examples.
Scenes
Use <MagicMove.Scene> to mark the start of a scene within the rendering hierarchy.
This is important so that Magic Move can correctly assess the destination-position of an animation.
MagicMove.Scene is implemented using a regular View and supports all its properties.
| Property | Type | Default | Description |
|---|---|---|---|
disabled | bool | false | Disable transitions to this scene. |
active | bool | This special prop is intended for integrating magic-move with 3rd party navigators such as react-navigation. Do not use it unless you know what you are doing. By setting it to true or false the navigation package can control which scene is active and which is no longer active. | |
debug | boolean | false | Enables debug-mode to analyze animations |
onWillAppear | function | Callback that is called when the scene is about to appear | |
onWillDisappear | function | Callback that is called when the scene is about to disappear |
Context
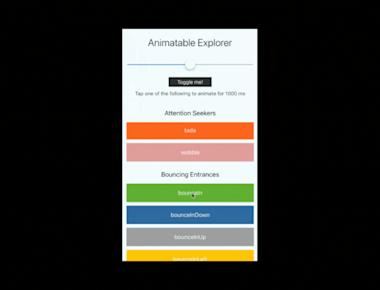
A temporary clone of the source and/or target component is displayed on the screen when a magic move is executed. Now suppose you had some animations that play when your component is mounted (such as “Animatable.View”); in that case, the cloned component would likewise play these animations. You might wish to completely conceal those components in the copied component because this is probably not what you want. Use the ‘MagicMove.Context’ API to do this. You may use it to determine if a component is drawn as a clone and whether it is the source or target of an animation for a magic move.
Example
<MagicMove.View><MagicMove.Context>{({isClone, isTarget}) => (<Animatable.View animation={isClone ? undefined : 'zoomIn'} />)}</MagicMove.Context></MagicMove.View>
Disclaimer
Magic-move gives the appearance that elements are changing or morphing from one scene to another. But it doesn’t truly transfer elements to different scenes. There will be times when the illusion won’t work for you, just like with actual magic tricks. And much as with magic tricks, you might need to “set the scene” (such as changing certain things in your app) in order to produce the desired transition. Now that you’ve been given a reality check, go ahead and conjure up some slick illusions.
License
MIT License
Copyright (c) 2018 Hein Rutjes
Permission is hereby granted, free of charge, to any person obtaining a copy of this software and associated documentation files (the “Software”), to deal in the Software without restriction, including without limitation the rights to use, copy, modify, merge, publish, distribute, sublicense, and/or sell copies of the Software, and to permit persons to whom the Software is furnished to do so, subject to the following conditions:
The above copyright notice and this permission notice shall be included in all copies or substantial portions of the Software.
THE SOFTWARE IS PROVIDED “AS IS”, WITHOUT WARRANTY OF ANY KIND, EXPRESS OR IMPLIED, INCLUDING BUT NOT LIMITED TO THE WARRANTIES OF MERCHANTABILITY, FITNESS FOR A PARTICULAR PURPOSE AND NONINFRINGEMENT. IN NO EVENT SHALL THE AUTHORS OR COPYRIGHT HOLDERS BE LIABLE FOR ANY CLAIM, DAMAGES OR OTHER LIABILITY, WHETHER IN AN ACTION OF CONTRACT, TORT OR OTHERWISE, ARISING FROM, OUT OF OR IN CONNECTION WITH THE SOFTWARE OR THE USE OR OTHER DEALINGS IN THE SOFTWARE.
Credit
IjzerenHein/react-native-magic-move
Share
Related Posts


Quick Links
Legal Stuff

