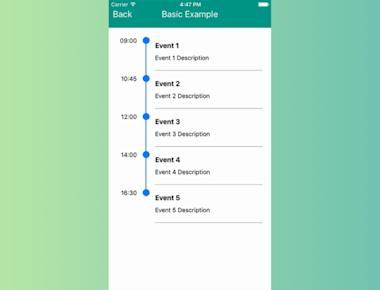
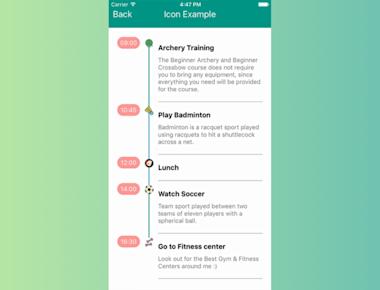
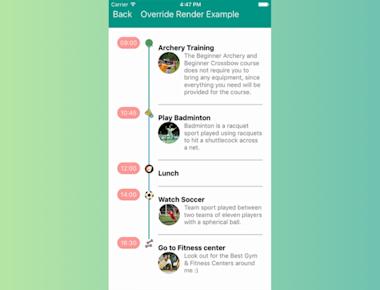
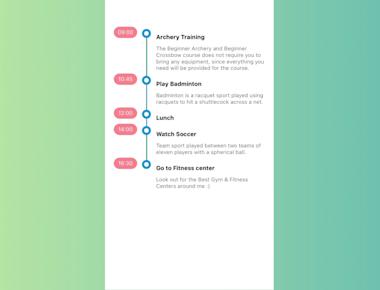
Basic Timeline Listview
April 15, 2023
1 min
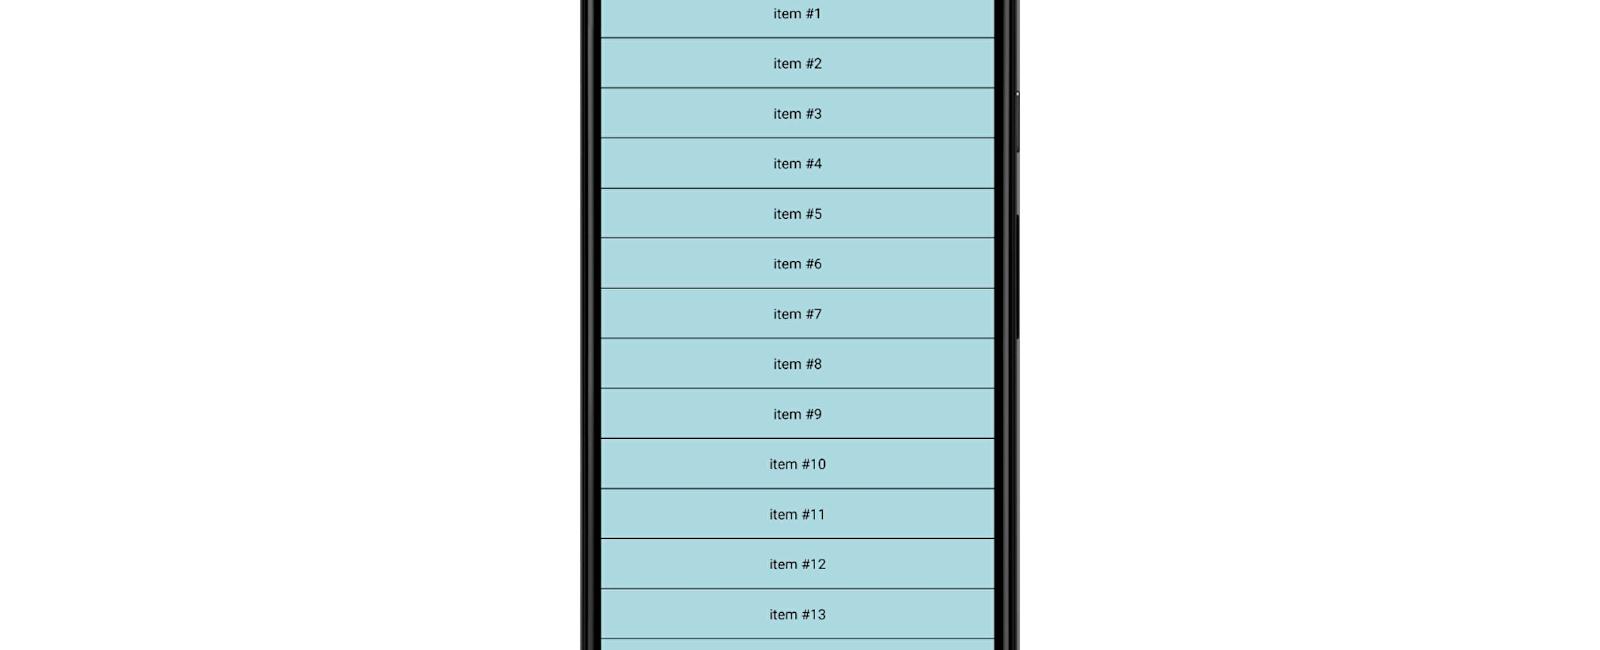
ListView - A core component designed for efficient display of vertically scrolling lists of changing data. The minimal API is to create a ListView.DataSource, populate it with a flat array of data blobs, and instantiate a ListView component with that data source and a renderRow callback which takes a blob from the data array and returns a renderable component.
npm install react-native-swipe-list-view --save --force
import React, { useState } from 'react';import {StyleSheet,Text,TouchableOpacity,TouchableHighlight,View,} from 'react-native';import { SwipeListView } from 'react-native-swipe-list-view';export default function Basic() {const [listData, setListData] = useState(Array(20).fill('').map((_, i) => ({ key: `${i}`, text: `item #${i}` })));const closeRow = (rowMap, rowKey) => {if (rowMap[rowKey]) {rowMap[rowKey].closeRow();}};const deleteRow = (rowMap, rowKey) => {closeRow(rowMap, rowKey);const newData = [...listData];const prevIndex = listData.findIndex(item => item.key === rowKey);newData.splice(prevIndex, 1);setListData(newData);};const onRowDidOpen = rowKey => {console.log('This row opened', rowKey);};const renderItem = data => (<TouchableHighlightonPress={() => console.log('You touched me')}style={styles.rowFront}underlayColor={'white'}><View><Text>{data.item.text}</Text></View></TouchableHighlight>);const renderHiddenItem = (data, rowMap) => (<View style={styles.rowBack}><Text>Left</Text><TouchableOpacitystyle={[styles.backRightBtn, styles.backRightBtnLeft]}onPress={() => closeRow(rowMap, data.item.key)}><Text style={styles.backTextWhite}>Close</Text></TouchableOpacity><TouchableOpacitystyle={[styles.backRightBtn, styles.backRightBtnRight]}onPress={() => deleteRow(rowMap, data.item.key)}><Text style={styles.backTextWhite}>Delete</Text></TouchableOpacity></View>);return (<View style={styles.container}><SwipeListViewdata={listData}renderItem={renderItem}renderHiddenItem={renderHiddenItem}leftOpenValue={75}rightOpenValue={-150}previewRowKey={'0'}previewOpenValue={-40}previewOpenDelay={3000}onRowDidOpen={onRowDidOpen}/></View>);}const styles = StyleSheet.create({container: {backgroundColor: 'white',flex: 1,paddingTop:40},backTextWhite: {color: '#FFF',},rowFront: {alignItems: 'center',backgroundColor: 'lightblue',borderBottomColor: 'black',borderBottomWidth: 1,justifyContent: 'center',height: 50,},rowBack: {alignItems: 'center',backgroundColor: '#DDD',flex: 1,flexDirection: 'row',justifyContent: 'space-between',paddingLeft: 15,},backRightBtn: {alignItems: 'center',bottom: 0,justifyContent: 'center',position: 'absolute',top: 0,width: 75,},backRightBtnLeft: {backgroundColor: 'lightgreen',right: 75,},backRightBtnRight: {backgroundColor: 'red',right: 0,},});
Coming Soon…

Quick Links
Legal Stuff