


Vertical Step indicator
May 06, 2023
1 min

The user experience can be improved by having precise location data for your users. You may utilize this information, for instance, to show people what is nearby, provide special discounts for goods and services nearby, and much more. The following subjects will be covered
Fortunately, with the react-native-maps package, adding maps to your React application is simple.
When used with React Native, React Native Maps’ platform-native code must be built. React Native is a component system for maps. Throughout this manual, we’ll show you how to incorporate Google Maps into your React Native application and introduce you to basic elements like
`<Marker></Marker>` and `<Map> </Map>`
Let’s get started!
To integrate Google Maps functionality into our project, we must first obtain an API key before rendering our MapView component. To achieve this, follow these instructions to obtain your API secrets.
Next, under android/app/src/main/AndroidManifest.xml, add this block of code:
<application><!-- You will only need to add this meta-data tag, but make sure it's a child of application --><meta-dataandroid:name="com.google.android.geo.API_KEY"android:value="YOUR_API_KEY"/> <!-- Your key goes here. --><!-- You will also only need to add this uses-library tag --><uses-library android:name="org.apache.http.legacy" android:required="false"/></application>
This will connect our SDK key to the React Native project. Next, run the following command to install react-native-maps in your project.
yarn add react-native-maps -Enpm install react-native-maps
Expo requires a different version of this package. so if you are using Expo, run this instead:
expo install react-native-maps
Remove all the default code from the App.js file and import the <MapView /> component from react-native-maps. Inside the component,
render the <MapView /> component.import React from "react";import { StyleSheet, Text, View } from "react-native";import MapView from "react-native-maps";export default function App() {return (<View style={styles.container}>{/*Render our MapView*/}<MapViewstyle={styles.map}//specify our coordinates.initialRegion={{latitude: 37.78825,longitude: -122.4324,latitudeDelta: 0.0922,longitudeDelta: 0.0421,}}/></View>);}//create our styling code:const styles = StyleSheet.create({container: {...StyleSheet.absoluteFillObject,flex: 1, //the container will fill the whole screen.justifyContent: "flex-end",alignItems: "center",},map: {...StyleSheet.absoluteFillObject,},});
When the component mounts, the initialRegion prop displays the region that will be visible on the map. Once initialized, the initialRegion value cannot be altered.
To set the proportions, don’t forget to add the style parameter; otherwise, the screen will be white. The
will fill the entire screen if the value of flex is set to 1.The initialRegion prop requires an object containing the latitude, longitude, and delta values of a region. How much the area on the map needs to be zoomed is specified by the latitudeDelta and longitudeDelta parameters. To change the region, use the region prop.
Use the onRegionChangeComplete prop to set the new region into the state when changing the region using the useState Hook. When the user stops panning the map, the callback prop onRegionChangeComplete is activated.
//extra code removed for brevity.//create a Hook to store our region data.const [region, setRegion] = useState({latitude: 51.5079145,longitude: -0.0899163,latitudeDelta: 0.01,longitudeDelta: 0.01,});return (<View style={styles.container}><MapViewstyle={styles.map}initialRegion={{latitude: 37.78825,longitude: -122.4324,latitudeDelta: 0.0922,longitudeDelta: 0.0421,}}//onRegionChangeComplete runs when the user stops dragging MapViewonRegionChangeComplete={(region) => setRegion(region)}/>{/*Display user's current region:*/}<Text style={styles.text}>Current latitude: {region.latitude}</Text><Text style={styles.text}>Current longitude: {region.longitude}</Text></View>);
Start by importing Marker from react-native-maps.
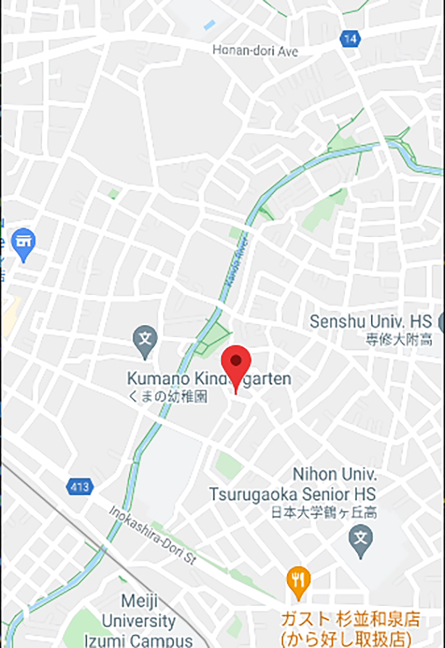
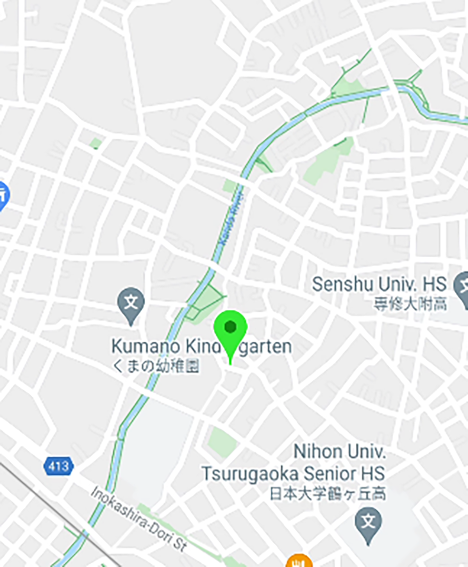
import { Marker } from "react-native-maps";Next, render the <Marker /> component as a child of <MapView />. Pass the coordinate for the marker in the coordinate prop.import { Marker } from "react-native-maps";const tokyoRegion = {latitude: 35.6762,longitude: 139.6503,latitudeDelta: 0.01,longitudeDelta: 0.01,};return (<View style={styles.container}><MapViewstyle={styles.map}initialRegion={tokyoRegion} //your region data goes here.>{/*Make sure the Marker component is a child of MapView. Otherwise it won't render*/}<Marker coordinate={tokyoRegion} /></MapView></View>);
Now, as illustrated below, the marking ought to be discernible.
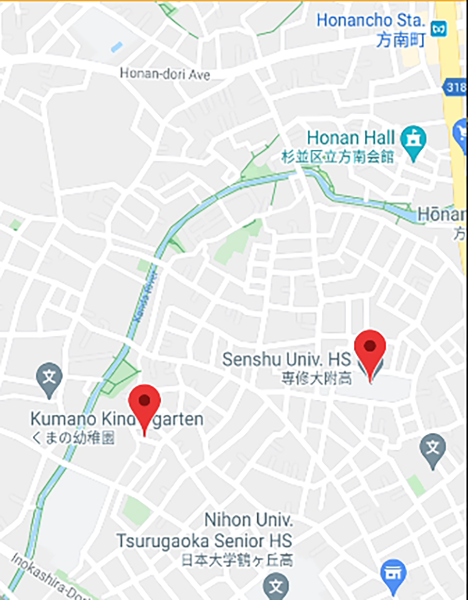
You can add n number of markers to the map and pass it as a direct child to the
component. Here is an example of multiple Marker components in the same MapView:<MapViewref={mapRef}style={styles.map}initialRegion={tokyoRegion}onRegionChangeComplete={(region) => setRegion(region)}><Marker coordinate={tokyoRegion} />{/*marker to a nearby location */}<Markercoordinate={{latitude: 35.67714827145542,longitude: 139.6551462687416,}}/></MapView>;
To change the color of the marker, use the pinColor prop.
<Markercoordinate={tokyoRegion}pinColor="green"/>
Here, we are changing the color of the pin to green :
You can also add a custom marker image by passing the image prop to the
component.<Markercoordinate={{ latitude: 52.5200066, longitude: 13.404954 }}image={require("./japaneseFlag.png")} //uses relative file path./>
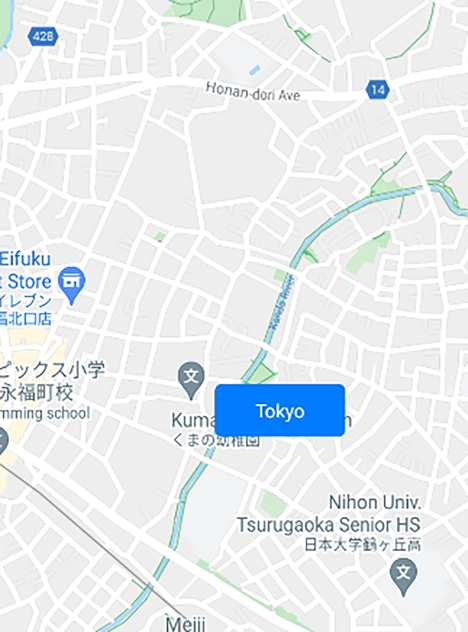
Developers can use unique marker views with react-native-maps. This could be useful when you wish to use a symbol to denote a location. An illustration would be to illustrate an automobile component to represent the position of a car dealer. To do so, first start by writing some code to build a custom component, like so:
//create our custom marker component.function CustomMarker() {return (<View style={styles.marker}><Text style={styles.color}>Tokyo</Text></View>);}//styles for our custom marker.const styles = StyleSheet.create({marker: {paddingVertical: 10,paddingHorizontal: 30,backgroundColor: "#007bff",borderColor: "#eee",borderRadius: 5,elevation: 10,},text: {color: "#fff",},});Next, incorporate CustomMarker into your project.export default function App() {return (<View style={styles.container}><MapView style={styles.map} initialRegion={tokyoRegion}><Marker coordinate={tokyoRegion}>{/* CustomMarker has to be a child of Marker*/}<CustomMarker /></Marker></MapView></View>);}
Generate the JSON object you’ll use to design the map from the Google style generator. Next, pass the generated style object to the customMapStyle prop of the
component.import React, { useState, useRef } from "react";import { StyleSheet, Text, View, Button } from "react-native";import MapView, { Marker } from "react-native-maps";const mapStyle = []; //map styles go here!export default function App() {return (<View style={styles.container}><MapViewstyle={styles.map}initialRegion={tokyoRegion}customMapStyle={mapStyle} //plug in our custom style into the customMapStyle prop./></View>);}
You can ignore the mapStyle variable — since we are generating the map style using the generator, you only need to paste the generated JSON object into your code and send it to the
component.As you can see, the map style changed from the default light theme to a dark theme.
What if you want to animate to a particular coordinate? First, create a reference to
using the useRef() Hook:import { useRef } from "react";const mapRef = useRef(null);<MapViewref={mapRef} //assign our ref to this MapView/*further code.. *//>This means that we can now execute methods to control our MapView component.Next, add this block://extra code removed for brevity//destination coordinatesconst tokyoRegion = {latitude: 35.6762,longitude: 139.6503,latitudeDelta: 0.01,longitudeDelta: 0.01,};const goToTokyo = () => {//Animate the user to new region. Complete this animation in 3 secondsmapRef.current.animateToRegion(tokyoRegion, 3 * 1000);};return (<View style={styles.container}><Button onPress={() => goToTokyo()} title="Go to Tokyo" /></View>);
A mutable ref object with the provided argument’s value as its current property is what the useRef() Hook returns. The component is not yet mounted if the value of the current property is undefined. Now, using mapRef.current, you can access any of the <MapView /> methods.
The two parameters that can be passed to the animateToRegion() method are the destination coordinates (in this case, tokyoRegion), and the length of the animation in milliseconds.
In the end, the code in your App.js file should look like this:
export default function App() {const mapRef = useRef(null);const [region, setRegion] = useState({latitude: 51.5079145,longitude: -0.0899163,latitudeDelta: 0.01,longitudeDelta: 0.01,});const tokyoRegion = {latitude: 35.6762,longitude: 139.6503,latitudeDelta: 0.01,longitudeDelta: 0.01,};const goToTokyo = () => {//complete this animation in 3 secondsmapRef.current.animateToRegion(tokyoRegion, 3 * 1000);};return (<View style={styles.container}><MapViewref={mapRef}style={styles.map}initialRegion={{latitude: 24.8607,longitude: 67.0011,latitudeDelta: 0.0922,longitudeDelta: 0.0421,}}onRegionChangeComplete={(region) => setRegion(region)}/><Button onPress={() => goToTokyo()} title="Go to Tokyo" /><Text style={styles.text}>Current latitude{region.latitude}</Text><Text style={styles.text}>Current longitude{region.longitude}</Text></View>);}const styles = StyleSheet.create({container: {...StyleSheet.absoluteFillObject,flex: 1,justifyContent: "flex-end",alignItems: "center",},map: {...StyleSheet.absoluteFillObject,},text: {fontSize: 20,backgroundColor: "lightblue",},});
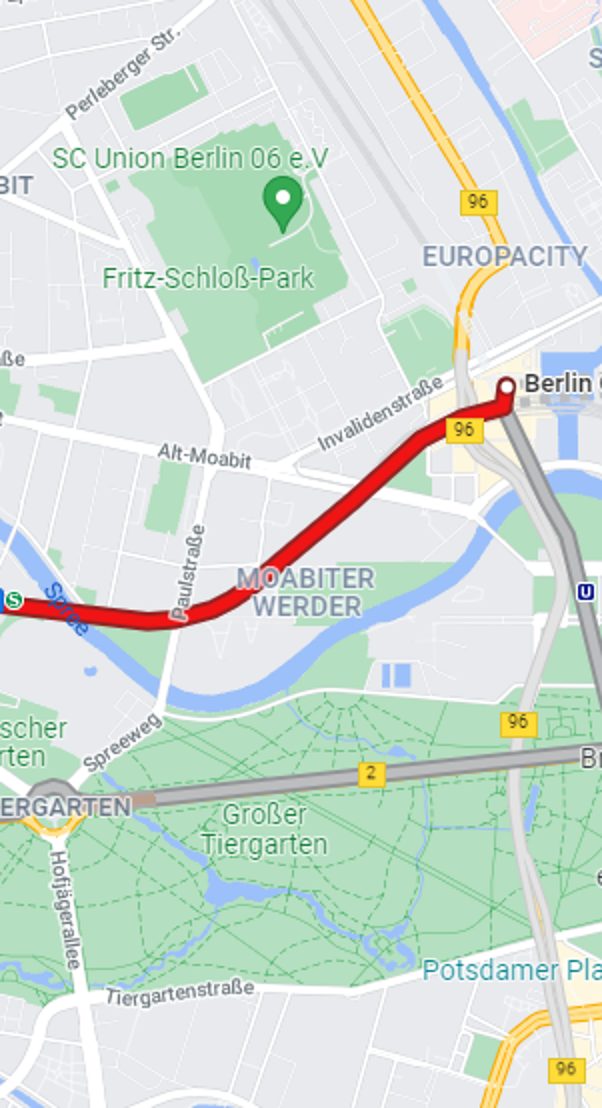
To draw a line between several coordinates, use the Polyline component from the react-native-maps package. Its coordinates prop accepts an array of coordinates. For style purposes, you can additionally specify extra props like strokeWidth, strokeColor, etc. Let’s create a path between Tokyo and Chiba.
import { Polyline } from "react-native-maps";const tokyoRegion = {latitude: 35.6762,longitude: 139.6503,latitudeDelta: 0.01,longitudeDelta: 0.01,};const chibaRegion = {latitude: 35.6074,longitude: 140.1065,latitudeDelta: 0.01,longitudeDelta: 0.01,};return (<View style={styles.container}><MapView style={styles.map} initialRegion={tokyoRegion}><Polylinecoordinates={[tokyoRegion, chibaRegion]} //specify our coordinatesstrokeColor={"#000"}strokeWidth={3}lineDashPattern={[1]}/></MapView></View>);
Store the coordinates for the locations in their respective variables and pass them in an array to the coordinates prop of the
component.The line is drawn between these coordinates directly, disregarding the actual geographic routes and roads, if you look at the results. The Google Maps Direction API, which returns all feasible routes between two locations, must be used to establish numerous coordinates between the source and destination locations in order to accomplish that.
To use the Direction API, you must first enable it for your project. Note that you need to have a valid billing address to use Google Cloud, otherwise the Directions feature won’t work.
First, create a helper function called getDirections. Here, write the following code:
import {decode} from "@mapbox/polyline"; //please install this package before running!const getDirections = async (startLoc, destinationLoc) => {try {const KEY = "YOUR GOOGLE API KEY"; //put your API key here.//otherwise, you'll have an 'unauthorized' error.let resp = await fetch(`https://maps.googleapis.com/maps/api/directions/json?origin=${startLoc}&destination=${destinationLoc}&key=${KEY}`);let respJson = await resp.json();let points = decode(respJson.routes[0].overview_polyline.points);console.log(points);let coords = points.map((point, index) => {return {latitude: point[0],longitude: point[1]};});return coords;} catch (error) {return error;}};
The overview polyline.points property’s encoded polyline points are converted by the decode() function into an array that contains the coordinates’ latitude and longitude.
As a result, this will allow the PolyLine component to read the location coordinates easily. Without it, react-native-maps throws an error.
import React, { useState, useEffect } from "react";import { View, Text } from "react-native";import MapView, { Polyline } from "react-native-maps";import { decode } from "@mapbox/polyline";const App = () => {const [coords, setCoords] = useState([]);useEffect(() => {//fetch the coordinates and then store its value into the coords Hook.getDirections("52.5200066,13.404954", "50.1109221,8.6821267").then(coords => setCoords(coords)).catch(err => console.log("Something went wrong"));}, []);return (<><MapViewstyle={{ flex: 1 }}initialRegion={{latitude: 52.5200066,longitude: 13.404954,latitudeDelta: 0.1,longitudeDelta: 0.1}}>{/* finally, render the Polyline component with the coords data */}{coords.length > 0 && <Polyline coordinates={coords} />}</MapView></>);};export default App;
Now that you know the fundamentals, you can use the react-native-maps library to implement maps and create custom features. These teachings can be applied to your work to create a wide range of applications, including delivery services, restaurant finders, taxi services, and much more. The react-native-maps package, a key component of the React Native ecosystem, makes it simple to incorporate maps.


Quick Links
Legal Stuff